
Simple Photo Editing – Photoshop Elements
Introduction
I have succumbed and purchased “Photoshop Elements” to review my photos and prepare them for publication in our eBooks and on the OS Wayfarer website. This post details my current photo-editing workflow using Photo Elements (Version 12). As my skills and knowledge develop, I envisage this workflow will change. Broadly the workflow details how to organise the photo files, edit the photos and save the files for future use. As usual, I use several resources to develop and test this workflow and these are listed at the end of the post.
Photo File Management
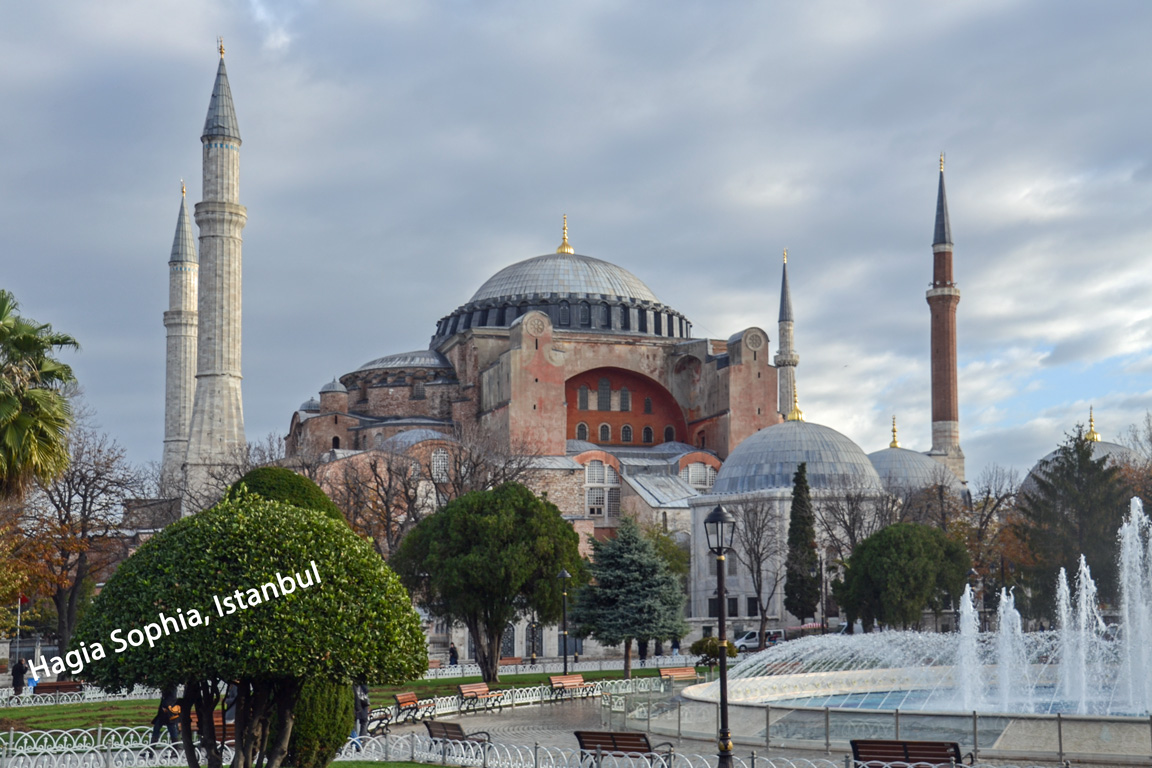
For the purposes of this post, I will consider the task of editing photos from our trip to Istanbul. The goal is to prepare these photos for inclusion in an eBook on Istanbul and for posting in an Istanbul album on this website.
It is considered the best practice to keep originals of the photo files off-site; if not then certainly on a separate disk. Therefore, in my case, I have a separate external Maxtor Drive where I keep my originals. So, for this exercise I have a directory/folder structure as follows: MyPhotos/eBook Projects/Istanbul/Photos. This enables me to have different folders for different projects (e.g. Istanbul, Budapest, Bucharest etc).
There are a few sub-folders within the Photos Folder: Photos/Originals; Photos/Elements; Photos/eBook; and Photos/Website. The Originals folder has copies of the original photo files from the Maxtor Disk. The Elements folder has edited copies of the photo files saved in the Elements format; and the eBook and Website folders have edited copies of the photo files saved in JPEG at relevant sizes.
I don’t use Photoshop Organiser, as it just seems to add another layer of complexity for little gain. All these folders can be quite easily set-up in Windows Explorer. The trick is to remain alert and save the photo files in the correct format in the correct folders – always a challenge!
So the first two steps are:
- create the relevant directory, folder and sub-folder structure
- copy all the original files for the Budapest project (on the Maxtor Drive) across to the originals folder in the directory structure: My Photos/eBook Projects/Istanbul/Photos/Originals
________________________________

Buy our eBook – Four Days in Istanbul at:
Amazon (Kindle) for The United States, United Kingdom, and Australia.
Smashwords (EPUB). Smashwords also distributes to Oyster, Scribd, Yuzu, Blio and Inktera (formerly Page Foundry) and reaches OverDrive (world’s largest library ebook platform serving 20,000+ libraries), Baker & Taylor Axis 360, Gardners (Askews & Holts and Browns Books for Students), and Odilo (2,100 public libraries in North America, South America and Europe)
Apple iBooks, Barnes and Noble (Nook), and Kobo
________________________________
The Editing Process
I am still learning photography and photographic editing and so I use the “Quick Mode” of Photoshop Elements. Fortunately, the Elements algorithms which are used within “Quick Mode” seem to do a pretty good job of improving my photos. However, it seems to me, for the purposes of publishing the photos in an eBook or on this website, the “Quick Mode” of Elements does just fine. For now, I can’t beat it by using the “Expert Mode”.
Photo preparation
Initially, I like to prepare the file for editing. This means straightening the photo, correcting any camera distortion, removing small imperfections and cropping the photo. Once this is done, I save the photo as an Elements file (*.PSD/PDD).
- open the Elements Photo Editor and select “Quick Mode” (if required).
- open the Photo File to be edited (File>Open). The file will be in the Originals Folder (My Photos/eBook Projects/Istanbul/Photos/Originals).
- straighten the photo as required (Image>Rotate>Straighten Image). If the result is unsatisfactory simply undo the change (Edit>Undo Straighten Image).
- correct any camera distortion (For example, any buildings whose sides tend to converge at the top) (Filter>Correct Camera Distortion).
- crop the image as required (Image>Crop)
- remove any imperfections (For example, Power Lines) (Select the “Spot Healing Brush Tool from the left hand “Tool Palette” or Press “J”)
- save the file in the Elements folder as an Elements (Photoshop) file (File>Save As). Ensure the “Format” is Photoshop (*.PSD; *.PDD). In the “Save Options” I choose not to select “Include in Elements Organizer” and not to select “Save in Version Set with Original”.
Photo Enhancements/Adjustments
The file is now ready to be enhanced through adjustments such as Smart Fix, Exposure, Levels, Colour, Balance and Sharpen. It always troubled me which of the adjustments should be undertaken first, but the consensus seems to be that, apart from using Sharpen last, it doesn’t really matter. In addition, it is felt that Auto Smart Fix and Auto Levels will fix most things. I agree as I’ve found using Smart Fix and Levels presents a pretty good Photo for my eBooks and Website.
Saving the Photo File
As indicated above, I save the Photo in Photoshop Elements format initially and the file should be saved regularly throughout the editing process.
For eBooks and websites, the JPEG format is appropriate (File>Save for Web…).
Importantly, check the photo dimensions and sizes for your targeted eBook platform (e.g. Kindle, iBooks, Sony, Nook etc). Generally, I try to restrict my width to =<500 pixels and the height to =<600 pixels to fit Kindle eReaders and the size to between (50-70) Kb to limit download costs which are charged to the author. For websites, regular sizes include 1200*800; 800*600 or 640*480. It is pretty much determined by screen size. Try to select 80% quality and adjust to achieve a file size around (100-150) Kb. The smaller the file size the quicker the photo will appear on the website.
Conclusion
This post shows a photo editing workflow using Photoshop Elements 12 and the “Quick” edit mode. Significantly, this mode is effective and efficient as it will enhance photos significantly, without a deep technical understanding of photography and Photoshop Elements. Naturally, if higher quality photos suitable for printing are required then Photoshop Elements 12’s “Expert” mode would need to be used. This will require a greater investment in your knowledge and skills.
References
Photoshop Elements 11: The Missing Manual
More Travel Articles
Visits: 2584


Leave A Comment