
Photography goals
Our travel photos need to support our self-published travel ebooks, our website blogs and travel albums, and social media activities. Our longer term/stretch goal is to self-publish coffee table quality travel books.
Learning photography
2014 was going to be my year of learning photography. However, not only did life intervene with a serious family illness, a bicycle accident and planned travel, but my approach to learning photography left me confused and somewhat overwhelmed. Much of what I read indicated that I must ditch automatic mode and venture into other modes (e.g. aperture) to really move forward. But I couldn’t seem to do it – there were too many settings to remember in too many situations; when the “rubber hit the road” I always found myself using automatic. My approach was very theoretical and it didn’t work, so this year I am going to take a more practical approach.
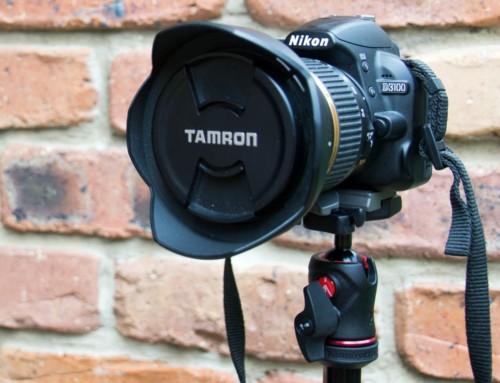
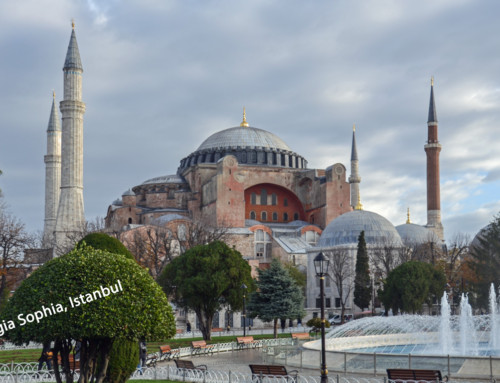
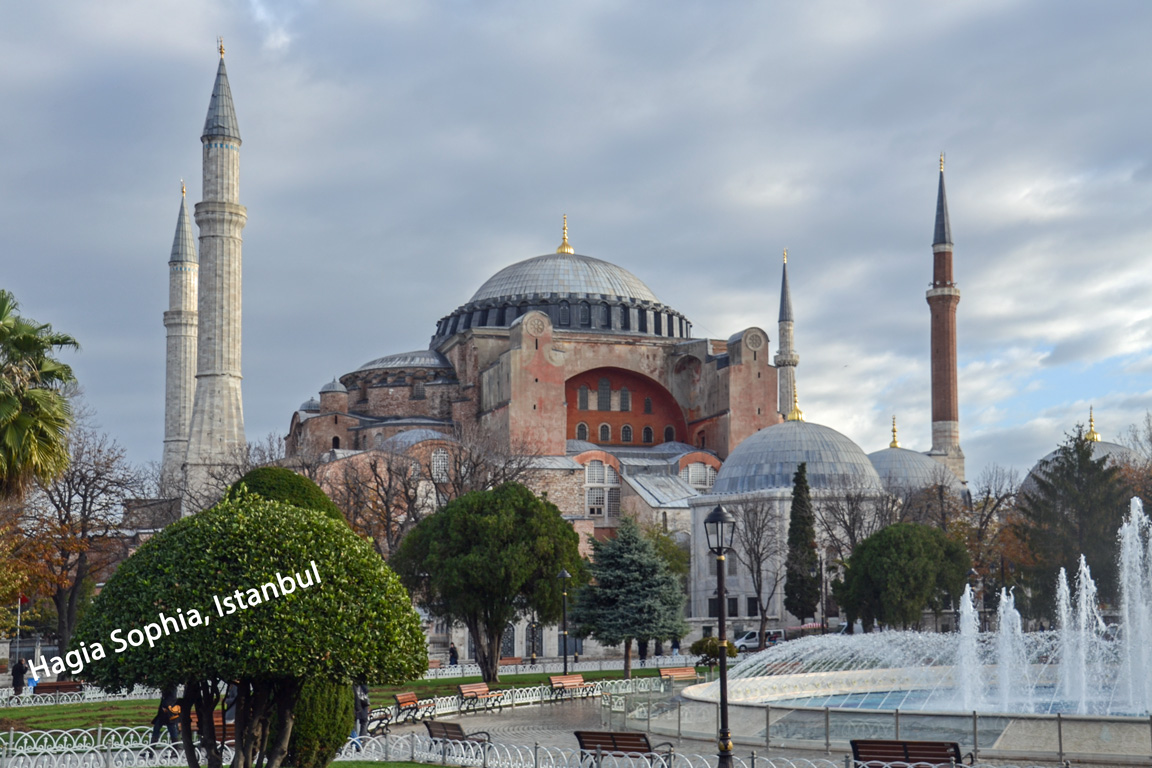
Back a step: In 2011 I bought a Nikon D3100 body and a Tamron 18-270 mm F/3.5-6.3 lens (here’s another owner’s view of the lens). This was on the recommendation of the instructor at a weekend photography course; he said it would get me started and he was correct. It serves my purposes pretty well. However when we travelled from Istanbul to London via Bucharest, Budapest, Salzburg and Paris, I was confronted with all these wonderful buildings which I couldn’t fit in the frame. So I decided to buy a wide angle lens and settled on a Tamron SP 10-24 1:3.5-4.5 lens and it’s good; but in a sense it has added to the complexity. Subsequently I have added a monopod with a quick release head plate; a clutch camera hand strap; and a remote shutter release.
I don’t think I can blame my equipment (although I’d lover a new camera body).
Adopting a practical approach
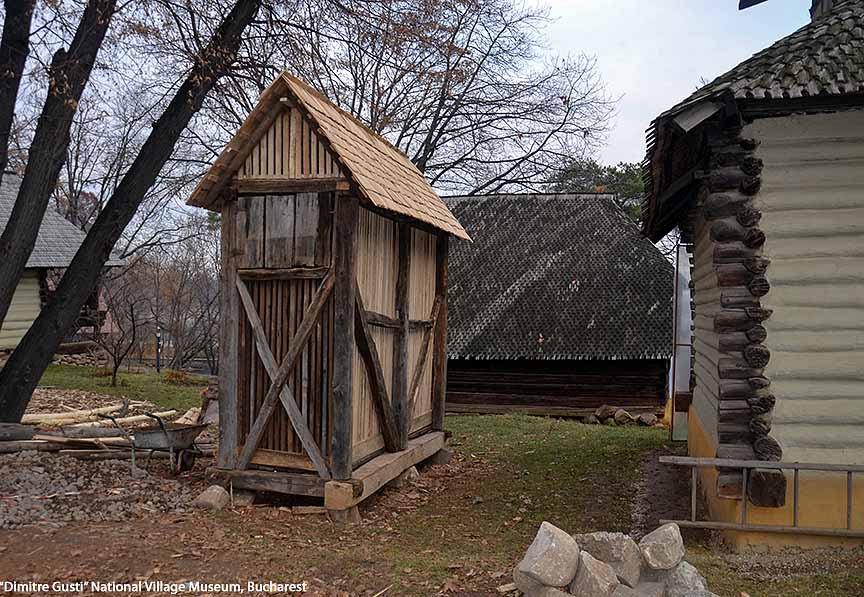
We are planning a 2016 trip to Europe and the UK. At this stage, on our way to London, we will visit two cities out of Athens, Prague, Berlin or St Petersburg. This means more wonderful architecture and I want to be prepared. We are also about to embark on a 4,000 kilometre drive up the Queensland coast from the Sunshine Coast to Cairns and back. Our focus will be historical and heritage buildings in each of the towns we visit.
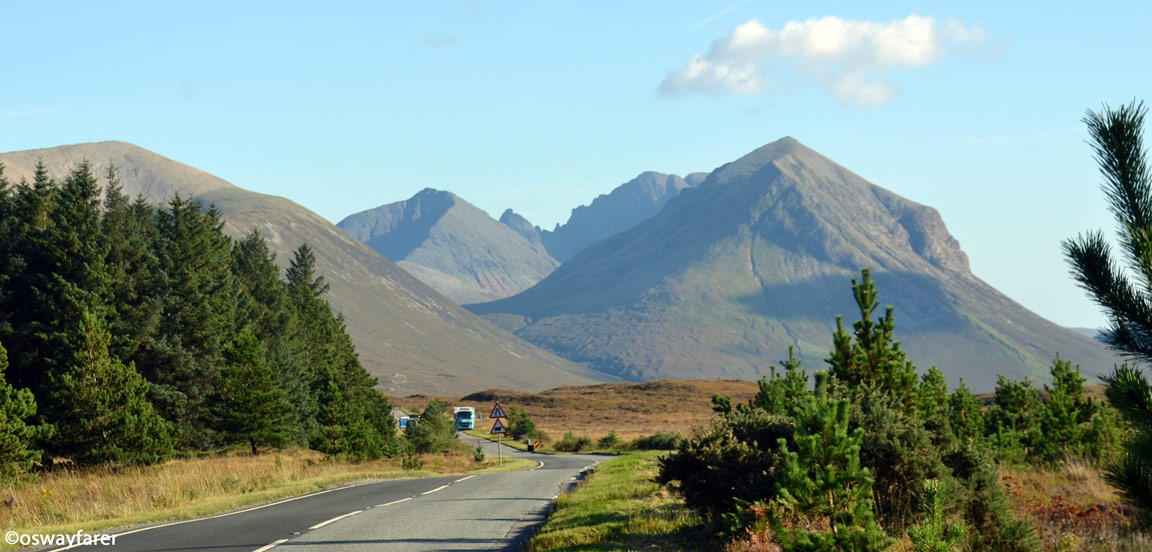
So my initial research focussed on architectural photography. However these trips will also present opportunities for photographing landscapes so I want to improve my landscape photography using modes other than automatic.
Research into Landscape Photography
This post is about my research into landscape photography and I will present my findings in four parts: first, the equipment required; secondly a summary of the techniques required; the references used; and a Mind Map summary (see below).
So what did my research reveal?
As with architectural photography, the most striking aspect is the number of questions which should be considered before the photo is taken. With landscape photography these questions relate to composition, focus and depth of field.
What equipment is recommended?
Surprisingly, the same equipment is recommended for landscape photography as for architectural photography. That is, a wide angle lens and a zoom lens are both useful.
As alluded to above, there are questions related to the depth of field required and the available light. In instances where maximum depth of field is desired (high F/stop); a low ISO has been selected; and the available light requires a slow shutter speed. Such a situation demands camera stability, that is: a tripod or monopod and a remote shutter release is necessary.
These conditions will be exacerbated when a zoom lens is used. This is because using a zoom lens automatically reduces the depth of field and so a higher F/stop will be necessary causing an even slower shutter speed.
To cover all circumstances a DSLR or mirrorless camera equipped with a wide angle and zoom lens; a tripod or monopod; and remote shutter release are pretty much essential.
Once again, the obvious point is that the better the camera the better the result.
I am satisfied that I have the necessary equipment to have a go at improving my landscape photography.
What techniques are recommended?
The recommended techniques relate to the following areas: composition, focus, time of day to shoot, using aperture priority, and camera settings.
Composition
The key question to ask initially is:
- Why do you want to take the photo? It is always important to have a clear idea why you want the photo as this will drive all your subsequent decisions. For example: do you want to capture a particular object in the foreground or have as many items in focus as possible? Do you need to zoom in to highlight a feature?
Other questions related to composition include:
- Consider the Rule of Thirds – where should the interesting feature be placed in your frame?
- Where should the horizon be in the photo? What is more interesting – above or below the horizon? Are there dark or sunlit clouds?
- Can you place something interesting in the first third of the image?
- Are there any lines to lead the viewer’s eye to the key feature?
- Can you get a more interesting angle by getting down on the ground – or perhaps climbing to a higher vantage point?
Since I have started to apply these techniques I find myself always looking at the sky – I notice clouds now!
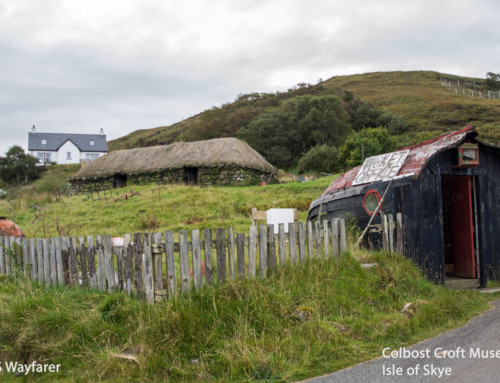
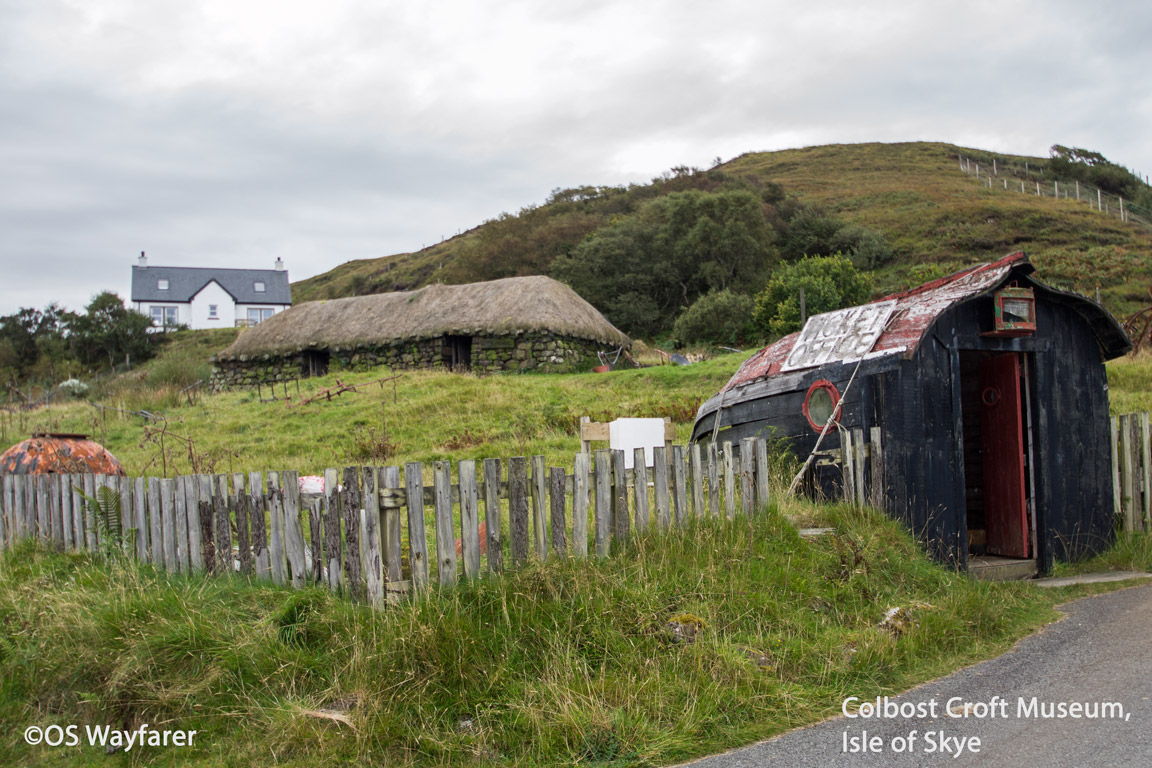
You can get a head start by identifying potential photos before you leave home. For example, if your touring the Isle of Skye you will know you want a photo of The Old Man of Storr so you can plan whether it should be an afternoon or morning shot. You can also search Google (including Google+ and Maps), Flickr or Instagram for potential landscape photo opportunities. This may assist in determining the time of day to visit, any special features and possible composition.
Aperture Priority
Aperture priority mode is recommended for the best control over landscape images. By using small apertures (higher F/stops) more of the image can be kept in focus. Alternatively, larger apertures (lower F/stops) can be used to bring foreground objects into focus while blurring the background.
With smaller apertures (higher F/stops) and a low ISO, the shutter speeds will be slower and so the need for camera stability becomes paramount. The rule of thumb suggests that the camera can be hand-held when the shutter speed is greater than 1/60 second for a 60mm lens and greater than 1/200 second for a 200mm lens (reciprocal of lens size). My research suggests that beginners tend not to use a tripod or monopod when they should be using one. I was guilty of this and now I am deliberately using my monopod to prevent camera shake.
Recently, as a result of my research, I have become aware of the Auto ISO function and so I am going to trial this setting in the future.
Focus Mode
The research suggests you focus about one-third (1/3) of the way into the image to obtain the best results. This is for the instance when you wish to maximise depth of field by using a small aperture (high F/stop) and a low ISO. Of course if you are using a large aperture (small F/stop) then the focus point will be the key feature in the foreground.
Each of these examples, point to the need to select the focus point. At present I am using Single-Point AF and then selecting the focus point while the 11 metering points are active (shutter release pressed half-way) using the horizontal and vertical movement arrows and OK to select. I still need more practice using the various Focus Modes but this approach seems to work. I’ll be writing a post on Focus Modes later when I am more familiar with their operation.
Shooting at Dawn and Dusk
Every landscape photography article I read advocates taking photos at dawn and dusk (or the golden hours). I must admit I am still struggling with this approach. I have been rising before dawn to take photos just before and just after sunrise but I find the light uneven and continually changing, and the sun reflecting strongly off the buildings. When I take photos just after dawn I get blow-outs in parts of the image which cannot be removed in Adobe Camera Raw. I am going to experiment with Auto ISO in Aperture Mode to counter the changing light; and do some more research regarding the strong reflections – filters, exposure compensation, white balance?
Camera settings
The more I practice the more familiar I become with my camera functions and settings. What’s more, I am remembering to check the settings as the shoot progresses. My research suggests the following camera settings for landscape photography:
- Use aperture priority mode with a F8 to F16 setting
- Use the camera’s base ISO (100?)
- Set White Balance to reflect conditions (e.g. cloudy, sunny etc)
- Focus one third into the image; or on a feature in the fore ground; or a really close up object (e.g. use Single Point AF)
- Use a tripod or monopod
- Capture RAW and JPEG files (if possible)
- Check the horizon is horizontal
- Leave room for cropping in post production
My biggest problem at the moment is countering blow-outs in my images.
References
Landscape
http://digital-photography-school.com/landscape-photography-tips/ ….. (25 Tutorials)
http://annemckinnell.com/ … 22 Landscape Photography Mistakes – Free eBook
http://www.digitalcameraworld.com/2012/03/28/the-10-commandments-of-landscape-photography-and-how-to-break-them/
http://www.naturephotographers.net/articles0403/dw0403-1.html
http://www.digitalcameraworld.com/2012/09/26/how-to-take-sharp-landscape-photos/
Wide Angle Lens
http://www.picturecorrect.com/tips/wide-angle-lens-tips-in-landscape-photography/
http://www.cambridgeincolour.com/tutorials/wide-angle-lenses.htm
http://digital-photography-school.com/wide-angle-lenses-landscape/
http://improvephotography.com/9192/what-you-probably-dont-know-about-wide-angle-lenses/
Telephoto Zoom
http://digital-photography-school.com/why-you-need-a-telephoto-zoom-lens-for-landscape-photography/
http://www.digitalcameraworld.com/2012/08/27/pro-secrets-how-to-use-a-telephoto-lens-for-awesome-landscapes/
Cheatsheets
http://www.cameratips.com/d3100/cheat-cards
http://www.digitalcameraworld.com/2014/11/19/7-landscape-photography-cheat-sheets-that-will-save-your-images/
Mind Map Download
*******************************
Our Latest eBook
Our latest eBook – Five Days on the Isle of Skye can be found on Amazon (Kindle), Smashwords (EPUB), Apple iTunes, Barnes and Noble (Nook), and Kobo. Smashwords also distributes to Oyster, Scribd and Baker and Taylor Blio etc.
*******************************
Visits: 604
Leave A Comment